Adding Images
Images can be added in two ways: an image block and as an inline image next to text.
Using the Image Block
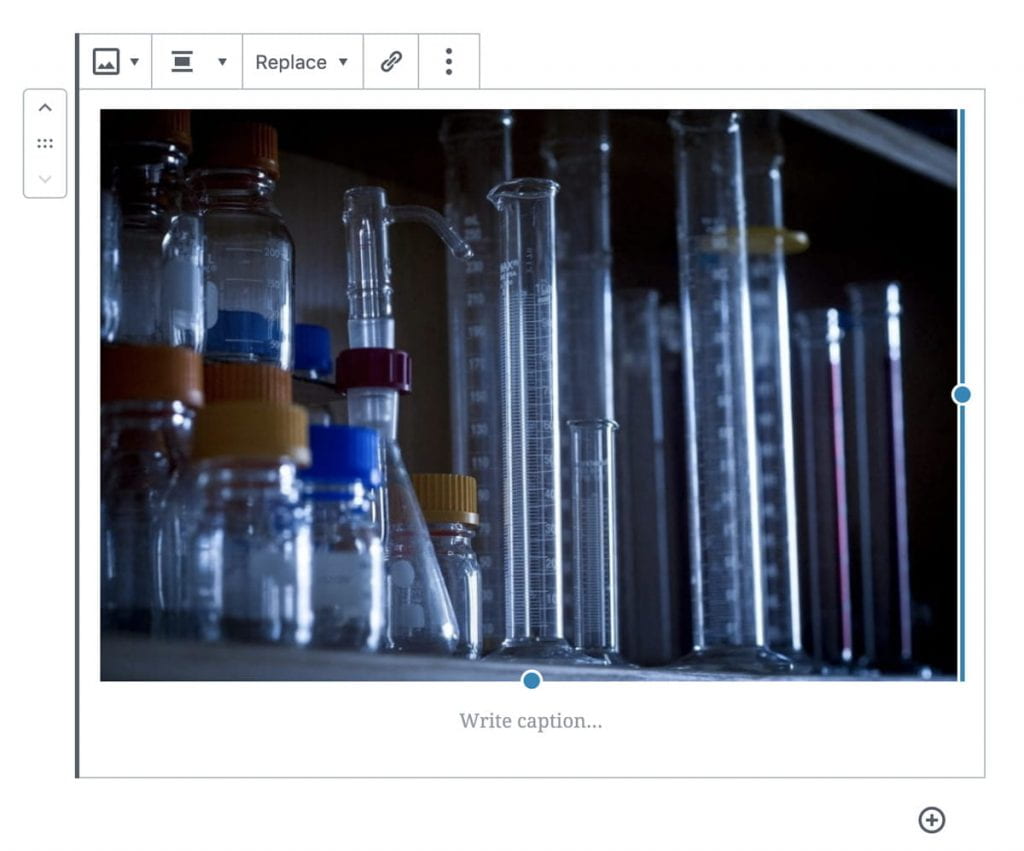
After you add an image via an image block, clicking on the image will show buttons in the top right of the block. These options will allow you to change the image’s style and alignment, replace the image with another, and link the image.
Below the image, there’s also space to include a caption.

Adding Inline Images
Inline images have text that wraps around them.
To add an inline image, hover over the paragraph block in which you’d like to add it. In the block options, click the down arrow, and choose “Inline Image”.

You’ll be able to choose the alignment and size of the image.

Adding Alternative Text
Alternative text (alt text) is simply a description of what an image shows, and it ensures that images are accessible for users with screen readers.
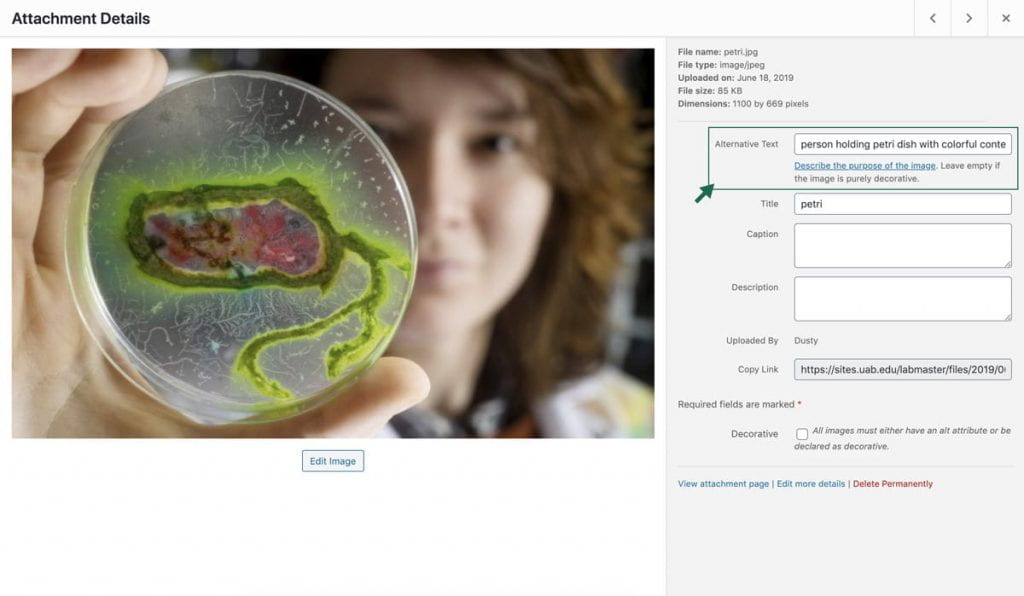
Method 1: Adding Alt Text in the Media Library
It can be added to an image in the Media Library. Click on an image to show more image information, and add the alt text in the right sidebar. Adding the alt text in the Media Library will make this the default alt text when the image is added to a page.

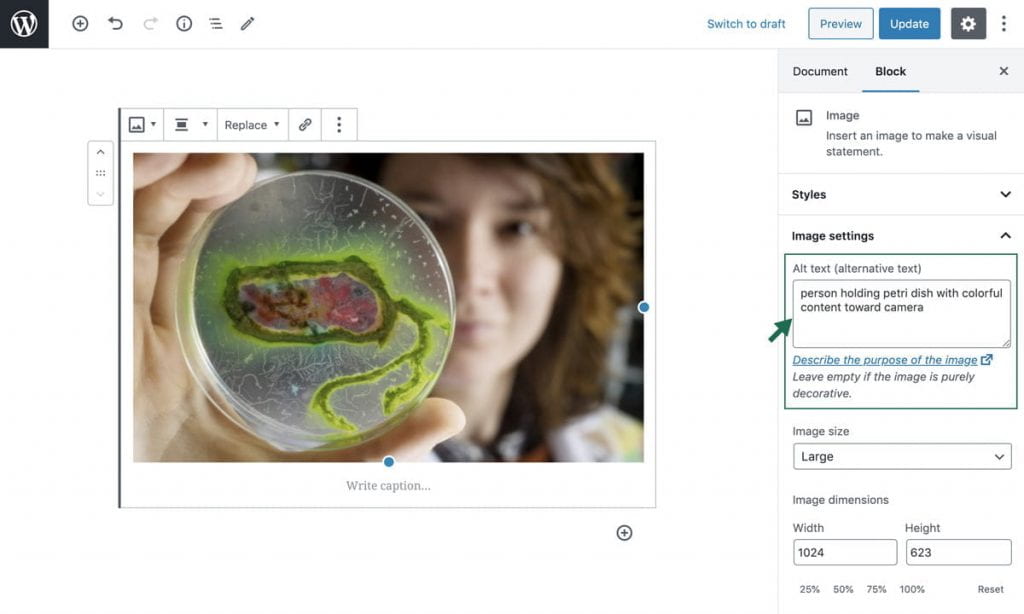
Method 2: Adding Alt Text in the Block Editor
Alt text can also be added to an image while you’re in the block editor. Select an image, and in the right sidebar, add your alt text in the text area under the “Image Settings”.

Resizing Images
Method 1: Resizing Using Handles
When you click on an image, you’ll see a blue dot on the right and bottom edges. Hover over either dot and drag to resize the image. The image will scale proportionally.

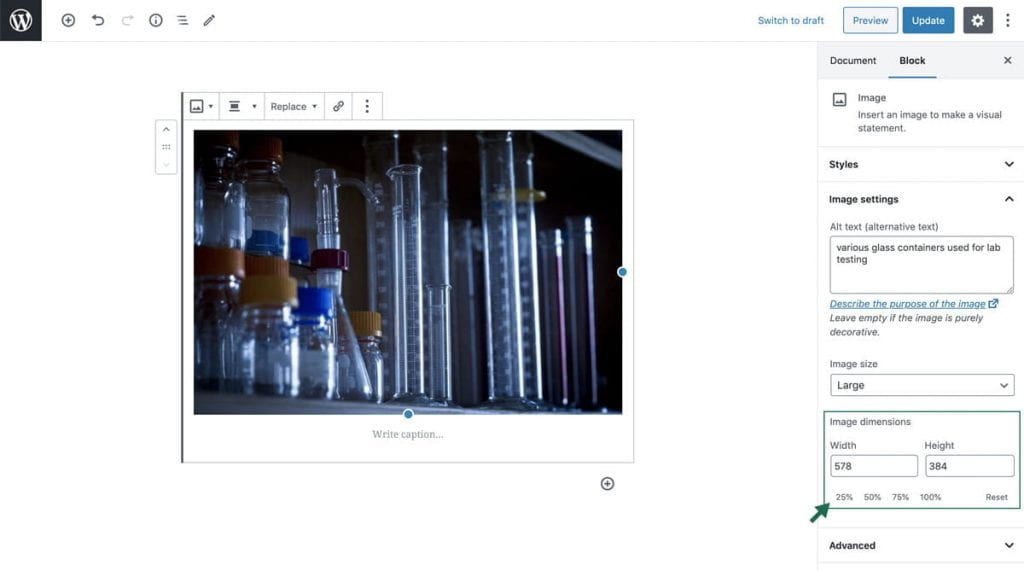
Method 2: Resizing in the Sidebar
This method can be used if you need to use specific image dimensions or if you want to want the image to take up a specific percentage of the row. Inputting the image dimensions this way will not automatically scale the image proportionally.

